Semester 2 – #11 Diffraction Grating Spectrometer
Click Images to Enlarge
|
The diffraction grating spectrometer is a hand-held instrument; the eye piece is at the bottom; aim it forward at the light source you wish to study. |
|
|
|
The Hydrogen lamp. |
|
|
|
The Hydrogen spectrum; ideally there should be 4 or 3 distinct lines, however, because hydrogen is extremely reactive, you may see a multitude of lines as well as is depicted in this image. Note, the left hand side of the image is what you see if you look straight through the spectrometer, the very bright slit is what you are aiming at; ensure that it’s bright; the right hand side of the image contains the wavelength scale; your objective is to match colors to wavelengths. So for the image it looks like the farthest and brightest red line is at 650 nm. (the scale is in nm) |
|
|
|
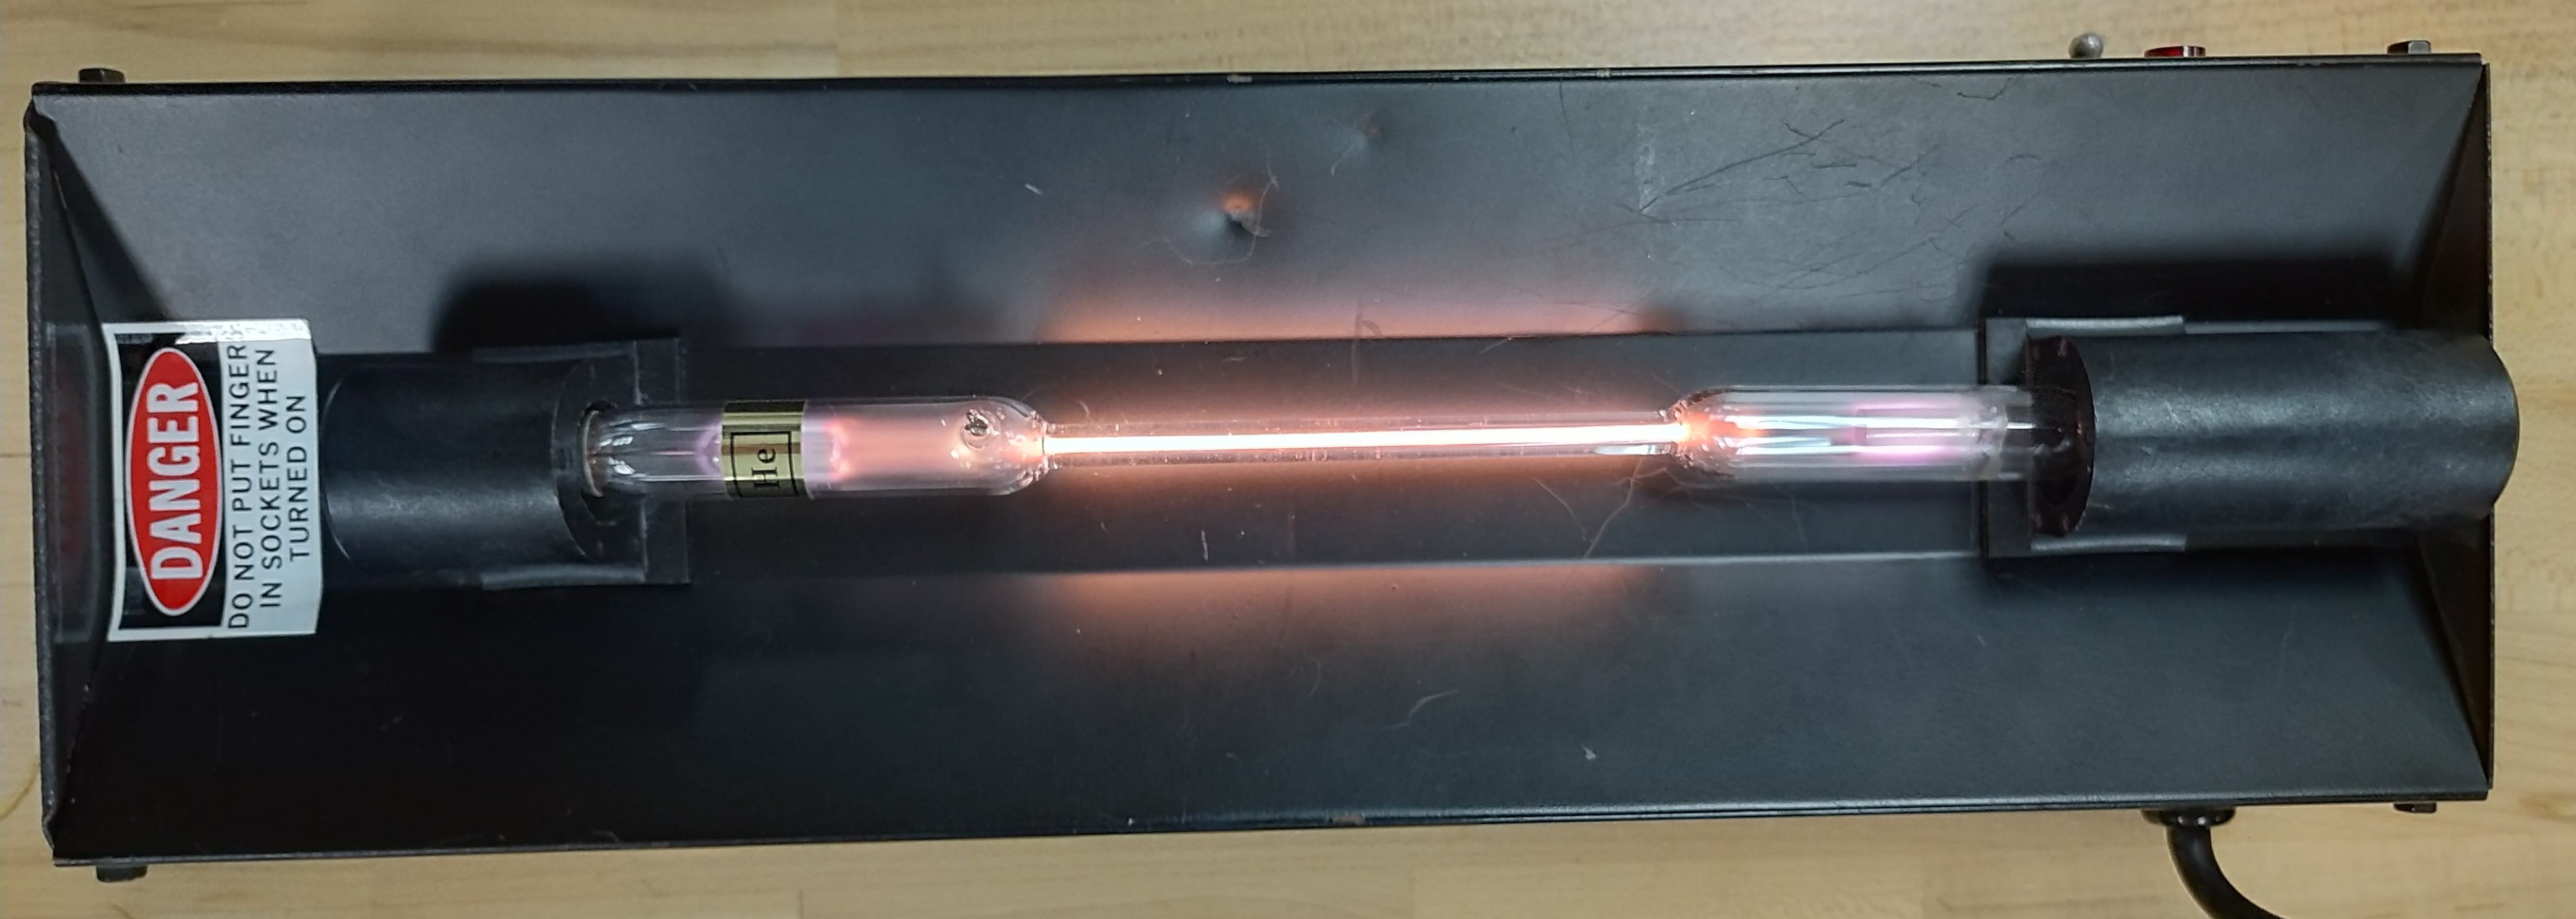
The Helium lamp. |
|
|
|
The Helium spectrum; helium produces very distinct lines; the source’s brightness made this image blurry, you will be able to match the colors to the wavelengths better with the eye. |
|
|
|
The Neon lamp. |
|
|
|
The Neon spectrum; this is also bright and challenge due to the many different colors it produces. Note the faint but distinct violets and greens. Pick a few of the yellows, oranges, and reds as it may not be possible to accurately measure every line. |
|
|
|
The Mercury lamp. |
|
|
|
The Mercury spectrum; like helium, mercury produces a distinct set of lines; again, due to brightness, it was not possible to produce a detailed image. |
|
|
|
Setup for taking the images; the spectrometer had to be kept steady and centered on the lamp for the camera to take the pictures. We will continue to work on improving these images! |
|
|
|
The various lamps are located at the Unknown Station; simply observe, compare, and contrast their spectra in your lab notebooks. |